In this tutorial, we’ll guide you through creating a customizable product using our template.
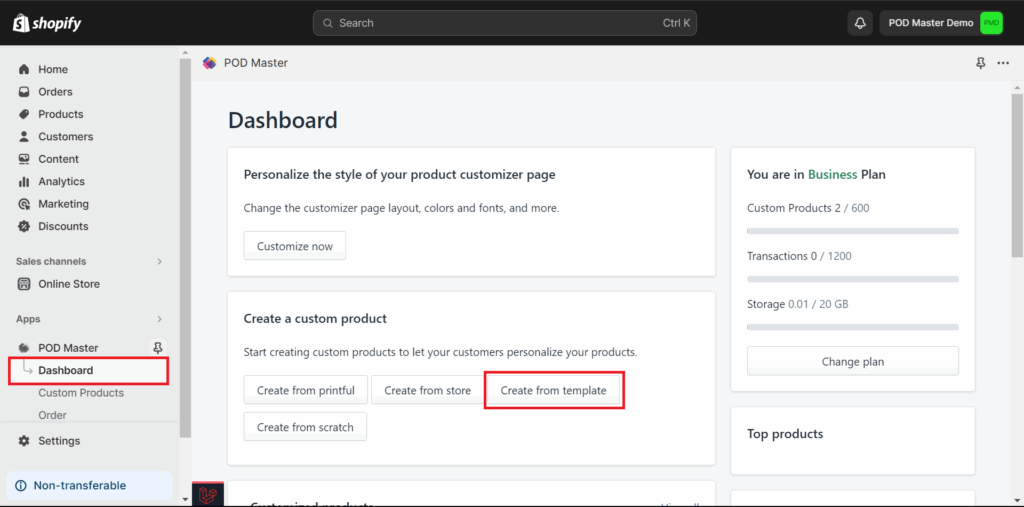
Navigate to the POD Master dashboard, click on the “Create from template” button.
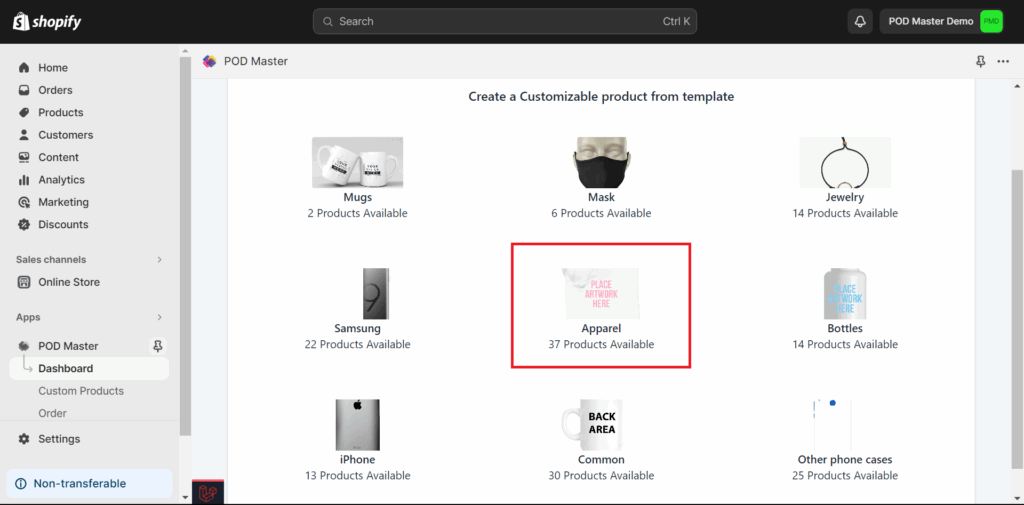
Select our category template. We have various product templates you can use for your business. Select and create your new custom product from our template that suits your store’s needs
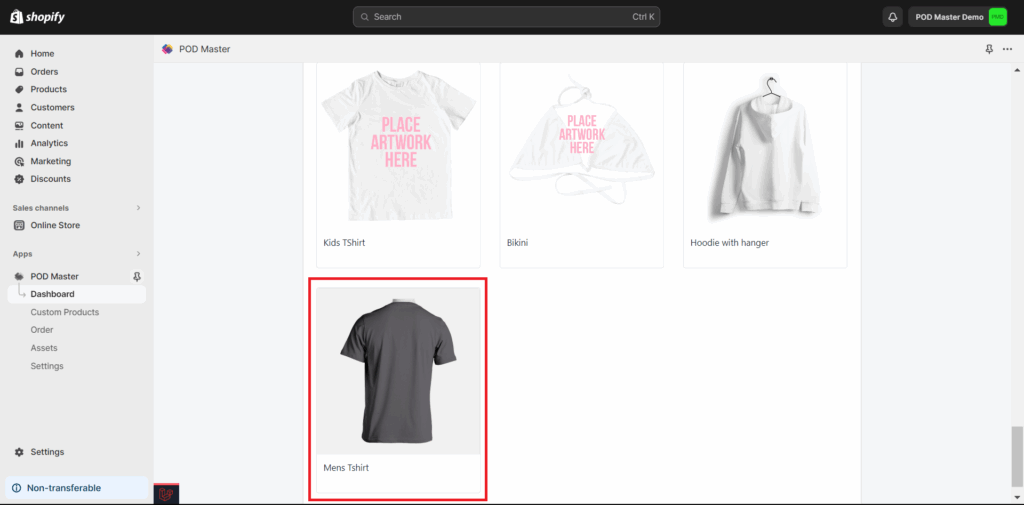
Select the specific product from that category for your new custom product.
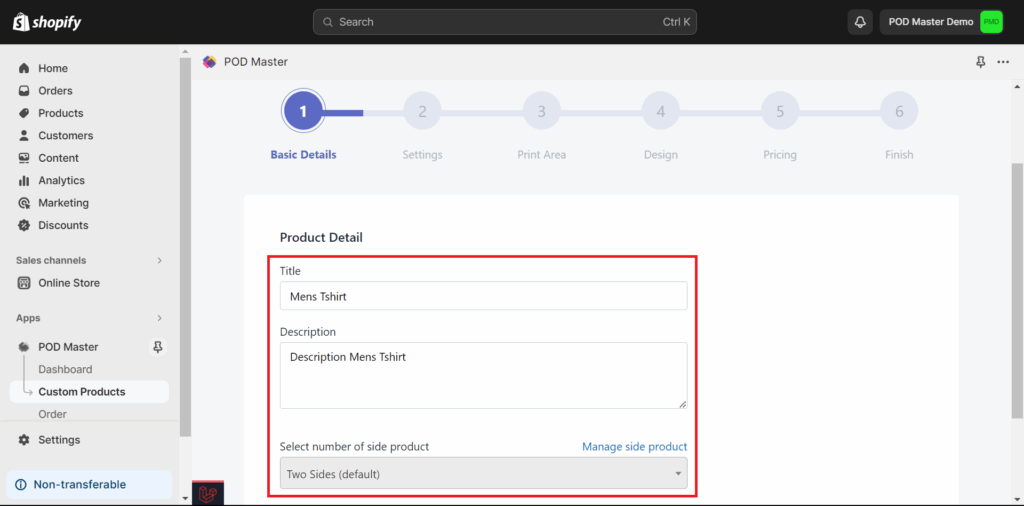
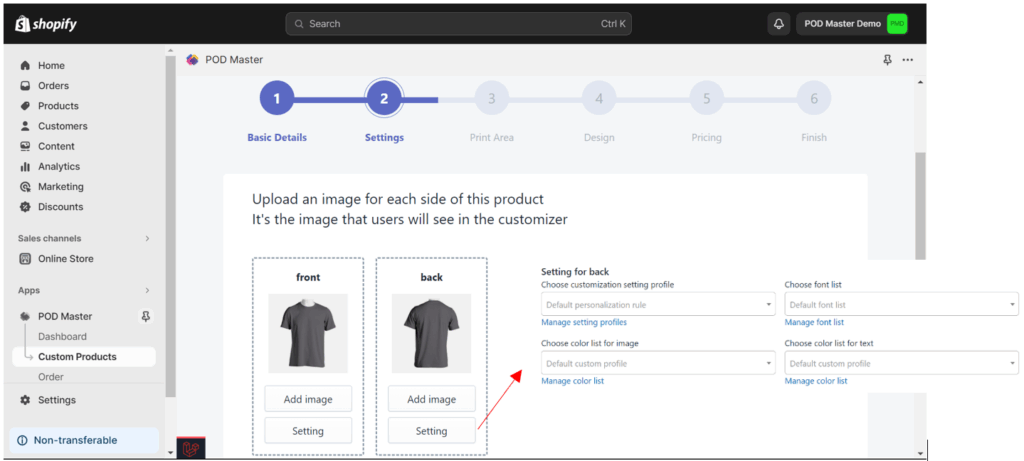
Now, you will be directed to the custom product detail page. Fill in the product title and its description. The number of product sides will be applied the same as the default setting of our product template (generally 2 sides).
An image for each side of the product will appear automatically using our product template. You can do the setup for each side (personalization rules, font list, color list for image, and color list for text). You can manage those 4 settings options in the assets menu.
Set the print area (boundary) where your customer can make the design / do the customization. You can set it as a rectangle, polygon, circle, or add a mask to it.

Add pre-loaded design, image, or text to your custom product if needed. You can skip this step if you don’t want to add pre-loaded objects to your custom product.

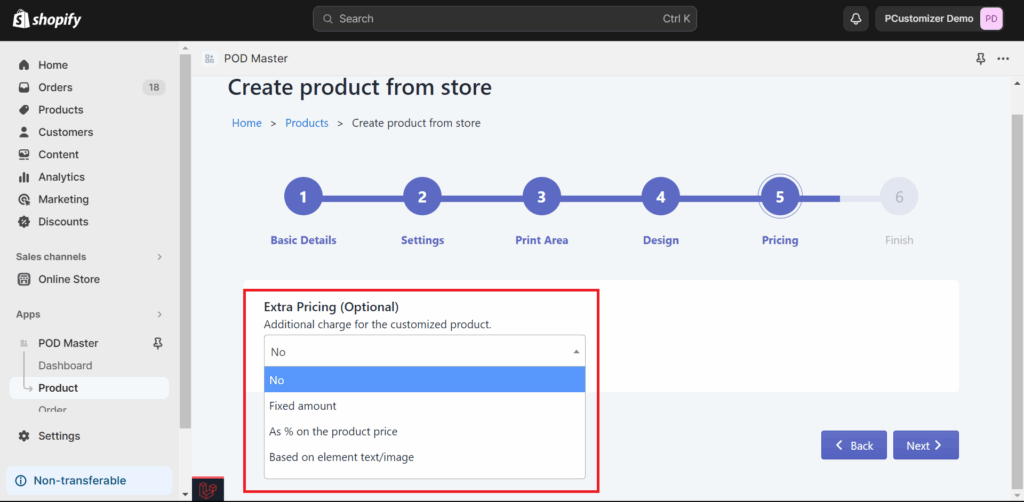
Add extra pricing for your custom product if needed. You can set the extra pricing as a fixed amount, as % of the product price, or based on per-element for text/image.
POD Master will display the preview of your custom product and its settings information. Kindly recheck it before you finally save and create the custom product.
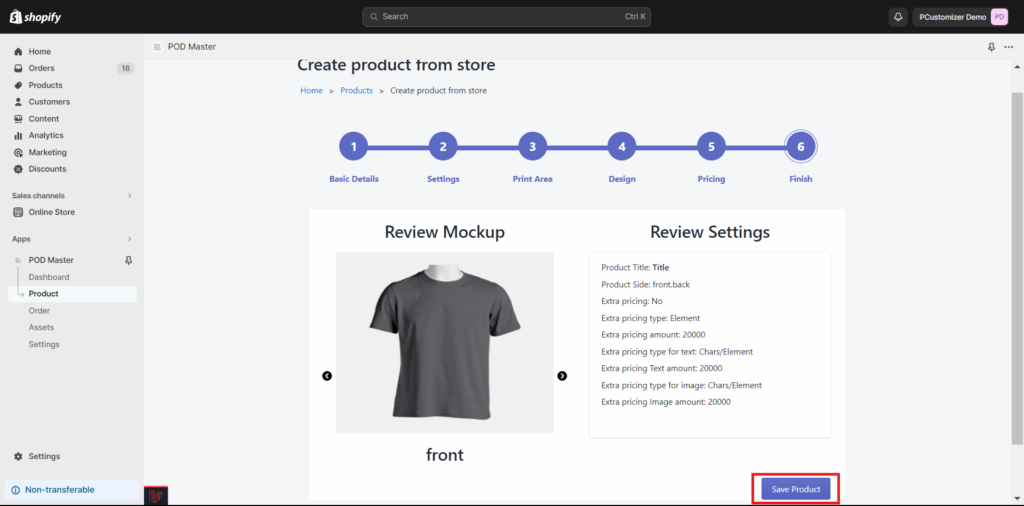
Click the Save Product button to complete the process.
Congratulation! You have created a new custom product using the POD Master template for your Shopify store. Your new custom product will be shown on the Product List page. Here, you can view, edit, or remove your custom product.